Create, Delete, and Suspend Users
EasyBridge administrator can create new users directly in EasyBridge from the Accounts page found in the Users drop down menu. It is important to understand how these new users display and integrate depending on the rostering solution. Select the rostering solution that matches the district to learn how creating a user in EasyBridge is reflected in classes.
Users created manually in EasyBridge for an organization that is auto-rostered are not associated with any automated update process. New users created manually through EasyBridge required to login directly to the Savvas platforms (Savvas Realize, for example) and are not connected to the district single sign-on
Users created manually for an organization that is already manually rostered have all of the expected functionality, including login process and access to their programs and curriculum.
Manually Create a User
Teachers, Students, and Administrators can be added manually through EasyBridge. Follow the steps below to create individual user accounts. To bulk add users, see the Import users help file.

- Log in to EasyBridge. The Classes page appears.
- Select Users in the top navigation and select Accounts in the drop down menu.
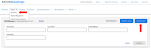
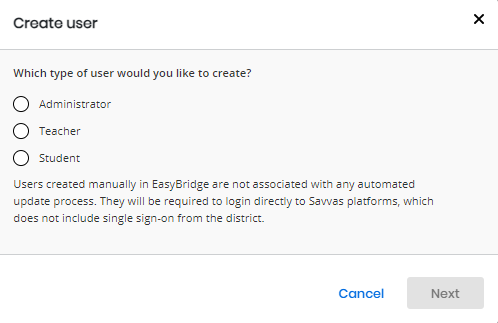
- Select the blue Create user button in the upper right corner. A modal window opens providing the user type options to create.
-
Select the user type - Administrator, Teacher, or Student - and select Next. The application can only create one user at a time.

- Enter the required fields designated by asterisks and select the blue Create user button. Only districts with SuccessMaker subscriptions have access to all of the demographic data.

Only districts with SuccessMaker subscriptions have access to all of the demographic data.
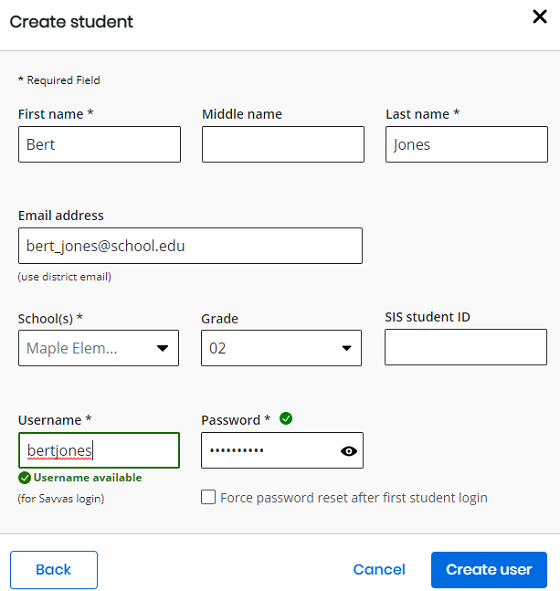
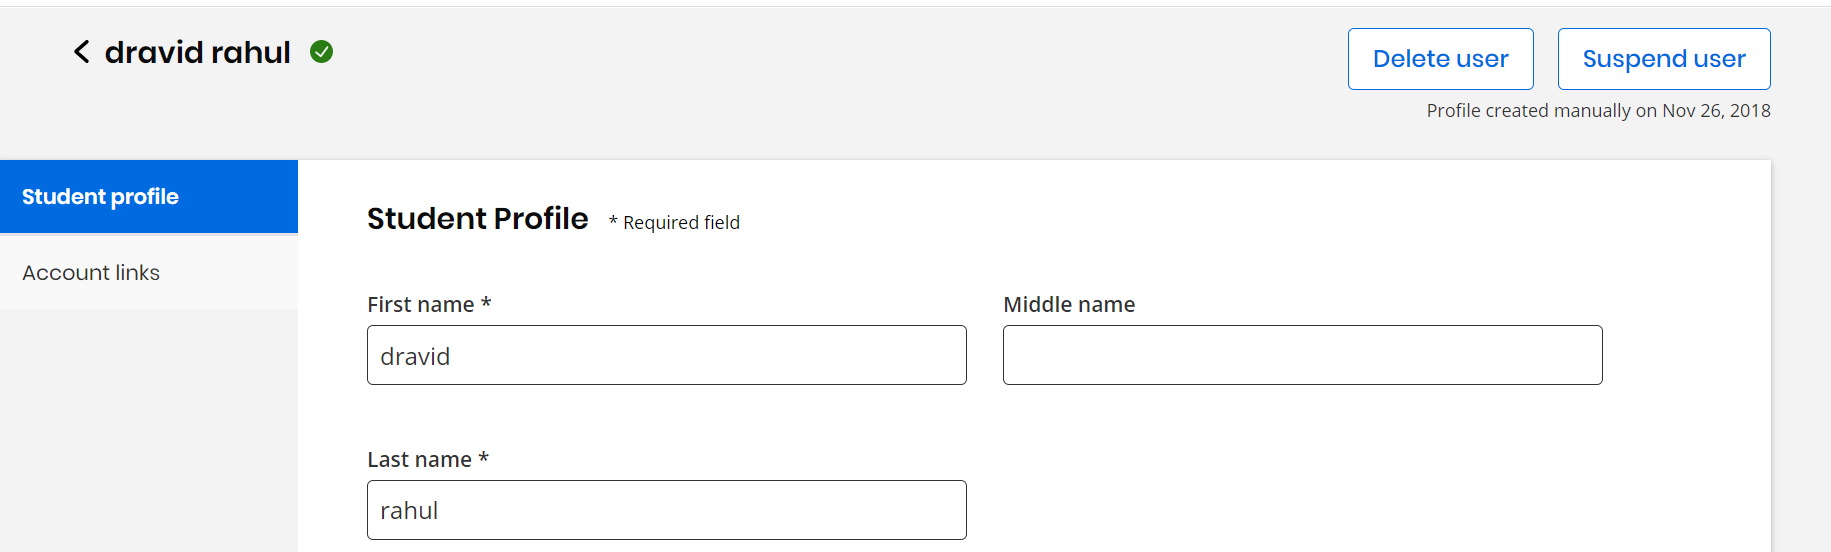
A message displays that the user record is created, and provides a button to see the Student or Teacher profile created.
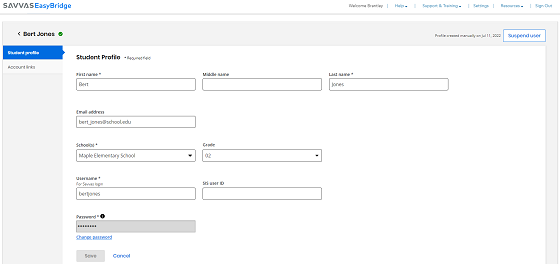
Users are created immediately and have access to their platforms. It may take a few minutes for them to appear in all areas of EasyBridge.
An administrator can delete any student or teacher that belongs to the school or district associated to the administrator. An administrator can also delete that belongs to the organization; however, if an administrator belongs to multiple organizations, and do not belong to those same organizations, administrator cannot delete them.
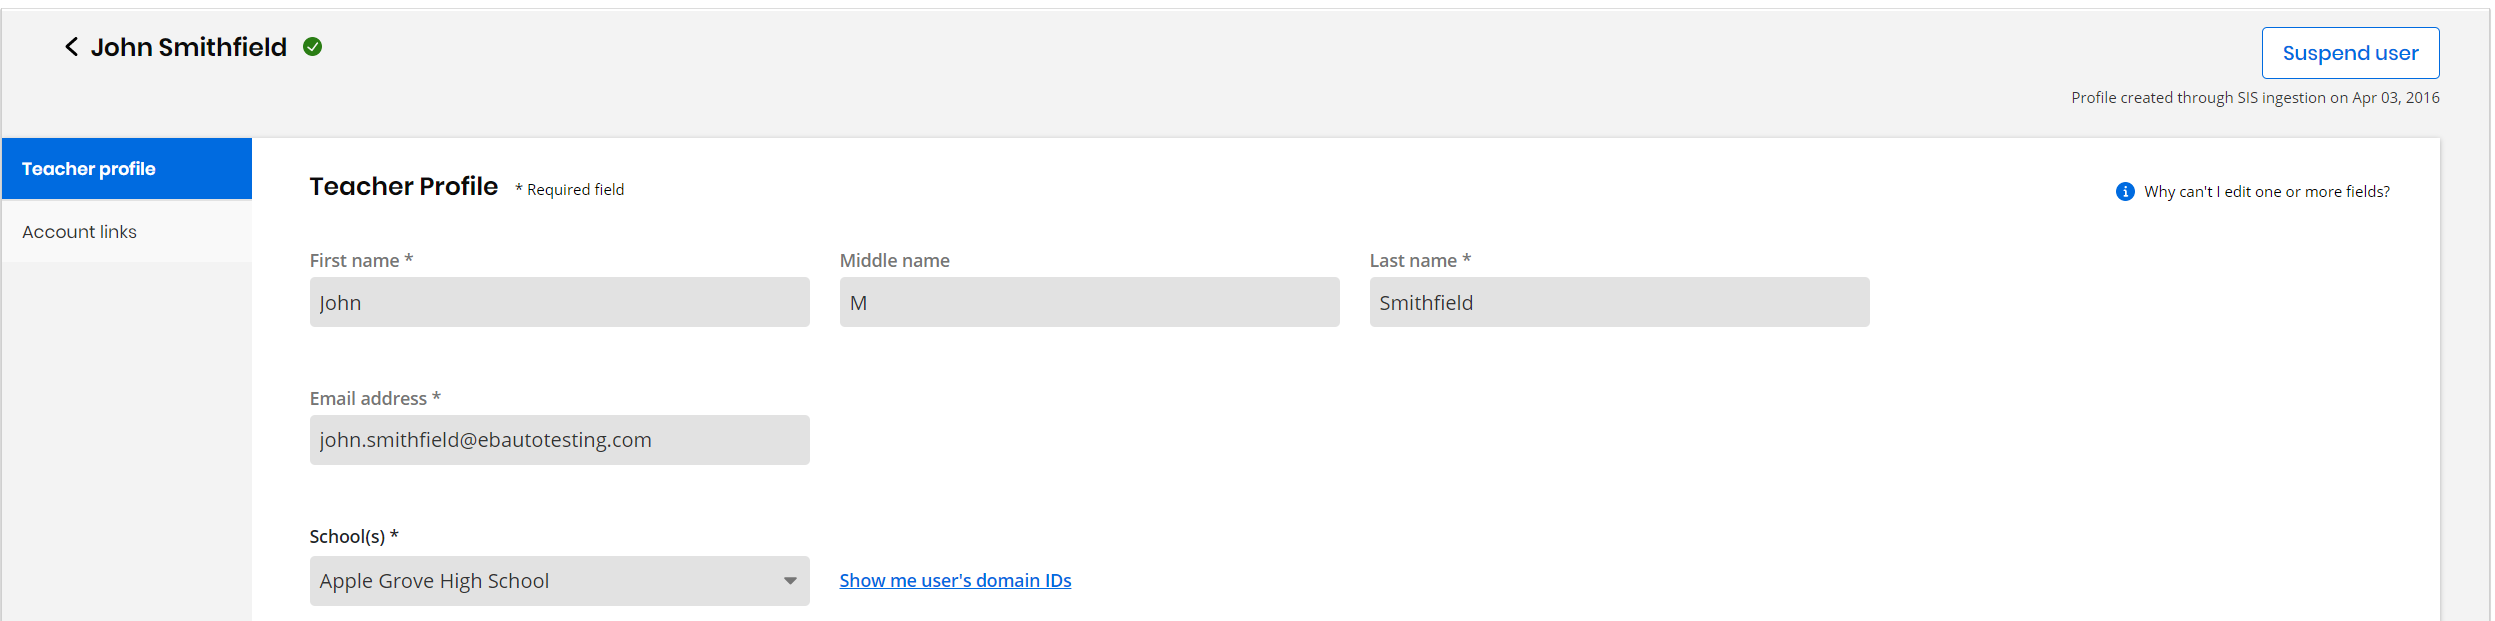
Administrators cannot delete teachers and students that were created through an SIS integration process. In order to delete these users, they must be removed from the source system, and they are updated in Savvas during the next file ingestion.
An administrator cannot delete self account. If the administrator tries to delete self account, the administrator receive an error . If the administrator deletes a list of users that includes self account, administrators are not included in that list of users.
Follow the steps below to delete users.
- Log in to EasyBridge. The Classes page displays.
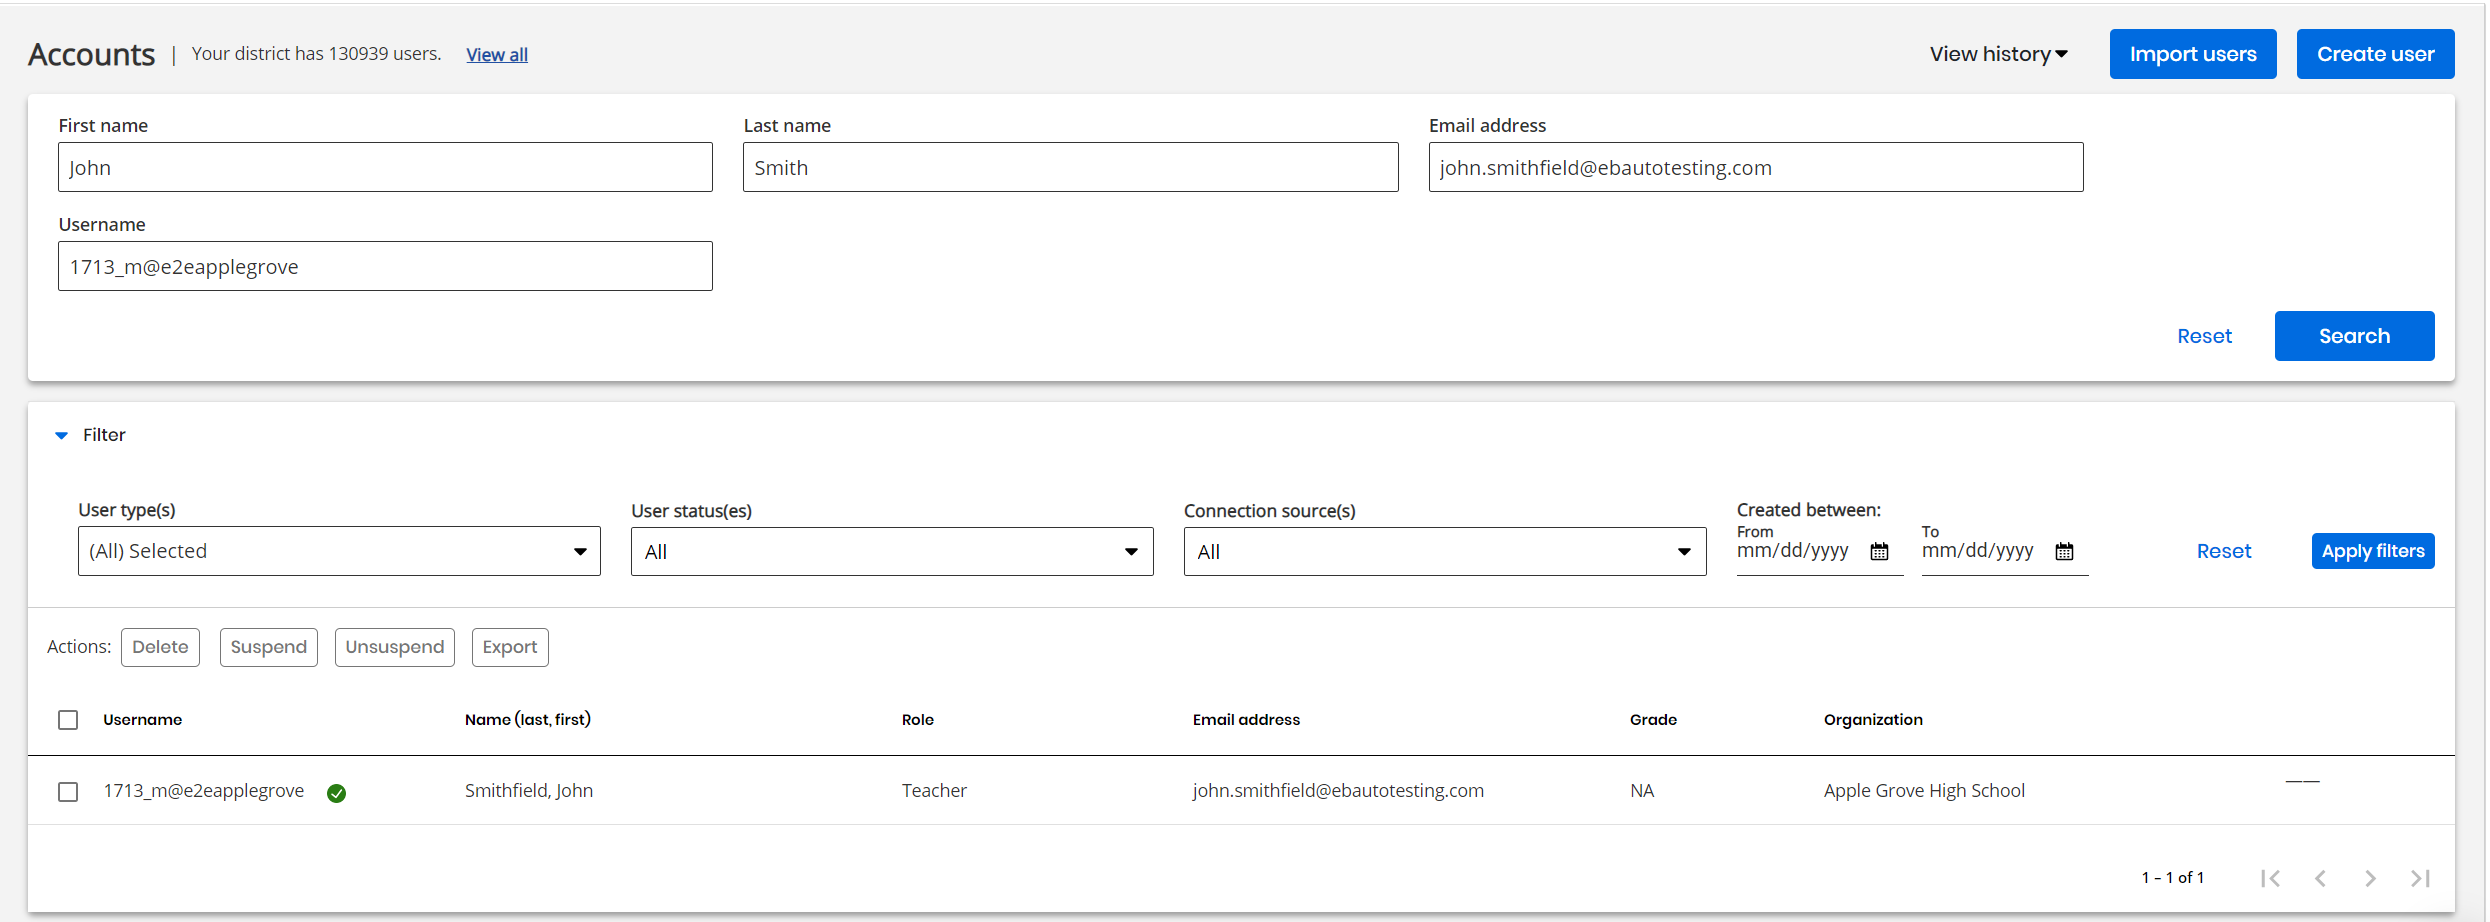
- Select Users in the top navigation and select Accounts in the drop down menu.
From here, there are two different ways of selecting a user to delete: either from the search page or on a user's details page.
-
To delete from the search page, enter the search criteria for the user or users looking for and apply any appropriate filters are displayed. Select Search.
-
-
Check the box in the results field next to the user to delete. For multiple users to delete in the results, the administrator can check multiple boxes, or check the box above the results to select all users displayed.
The customer administrators cannot delete more than 100 users in one action; if the administrator tries to delete more than 100 users, administrator receive an error. For a Savvas administrator, without limit.
-
-
In the list of Actions, select Delete to delete a user or users.
-
-
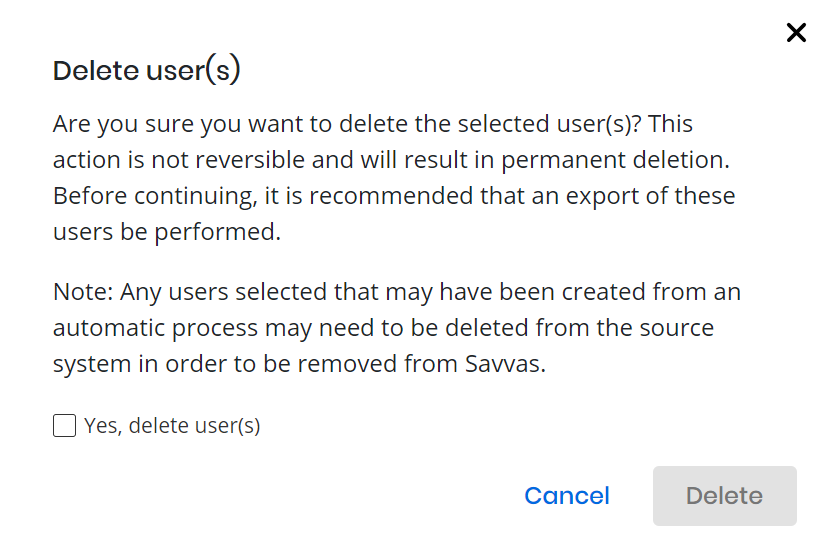
A pop-up window appears asking for the confirmation whether to delete the user or users. Check the box that says "Yes, delete user(s)" and select Delete to confirm to delete the user or users selected in step 5.
-
-
To delete a user from the user's details page, select the user from the search results, then select Delete user.
-
-
As in step 6, a pop-up appears prompting to confirm whether to delete the selected user. Check the box that says "Yes, delete user(s)" and select Delete to confirm to delete the user.


After deleting a user, the user account still appears in search results for a few minutes while their data is cleared. If the administrator selects on the user during this period, the administrator receive a pop-up notifying that their detail data is not available while deletion is in progress.
The administrator can suspend and unsuspend students, teachers, and other administrators through EasyBridge. An administrator can suspend and unsuspend any student or teacher the have access to, meaning a student or teacher that belongs to the school or district. The administrator can also suspend and unsuspend an administrator that belongs to the organization; however, if an administrator belongs to multiple organizations, and the administrator do not belong to those same organizations, the administrator cannot suspend and unsuspend them.
The administrator cannot suspend self account. If the administrator tries to suspend a self account, administrator receive an error . If suspend a list of users that includes self account, the administrators are not included in that list of users.
Follow the steps below to suspend and unsuspend users.
- Log in to EasyBridge. The Classes page appears.
- Select Users in the top navigation and select Accounts in the drop down menu.
From here, there are two different ways of selecting a user to suspend or unsuspend: either from the search page or on a user's details page.
-
To suspend or unsuspend from the search page, enter the search criteria for the user or users and apply any appropriate filters. Select Search.
-
-
Check the box in the results field next to the user to suspend or unsuspend. For multiple users to suspend or unsuspend in the results, administrator can check multiple boxes, or check the box above the results to select all users displayed.
-
-
In the list of Actions, select Suspend to suspend a user or users. Select Unsuspend to unsuspend a user or users.
-
-
To suspend or unsuspend a user from the user's details page, select the user from the search results, then select Suspend user or Unsuspend user, depending on whether the user has been previously suspended or not.
-
The customer admin can provide access to a user (Administrator) for EasyBridge (Includes Realize Reports) or/and SuccessMaker Admin Dashboard and Reports.
To grant access to EasyBridge or SuccessMaker:
-
Navigate to the Users tab on the top menu bar and select Accounts from the drop-down list.
The Accounts page appears.
-
Select on Create User located at the top right corner.
The Create User appears
-
Under the 'Which type of user would you like to create?' section, choose Administrator.
-
Select Next.
The Create Admin appears.
-
Choose EasyBridge (Includes Realize Reports) or/and SuccessMaker Admin Dashboard and Reports.
-
Select Create user to finalize the creation of an Admin user who have the access to the selected options.
A notification message appears, "User created successfully."
See also